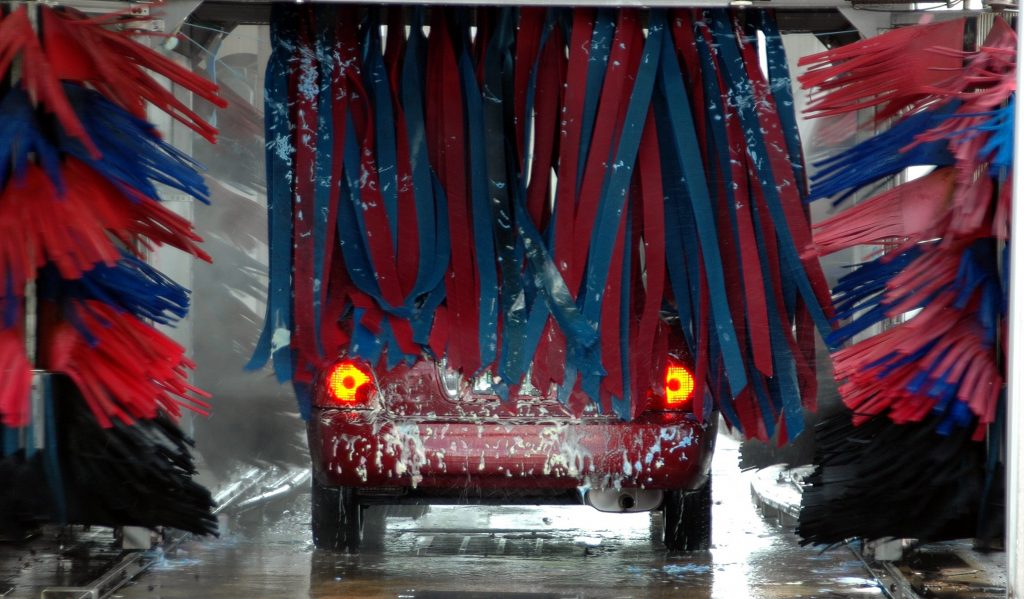
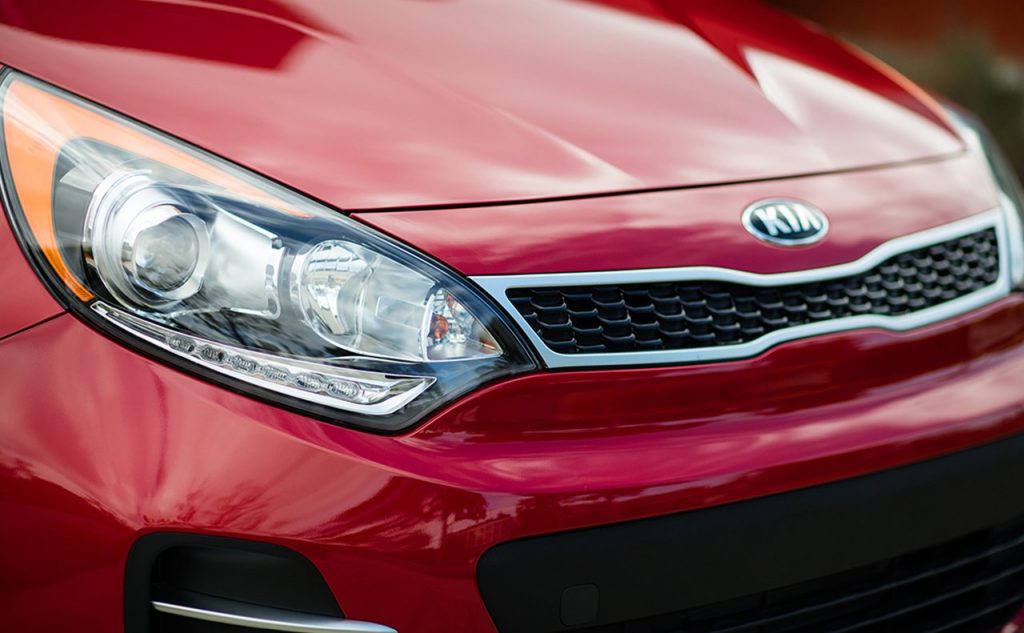
We’ve all been there, your car is dirty, the paint looks a bit dull, and no matter how many times you go through the carwash it’s not quite right. More often than not this means that it’s time to detail your car. If you have a free afternoon, take the time to give your car the time and attention it deserves. To help you avoid damage and keep your car in pristine condition, we have put together a DIY exterior car-detailing guide. Check it out below, and we guarantee you’ll never go back to just a wash!
- Gather Your Tools
While detailing your car might seem like a big commitment, it only takes a few simple tools to get the job done right. Here’s what you’ll need:
- 2 Buckets
- Plush microfiber towels
- Lamb’s wool mitt
- Wax
- Car Soap
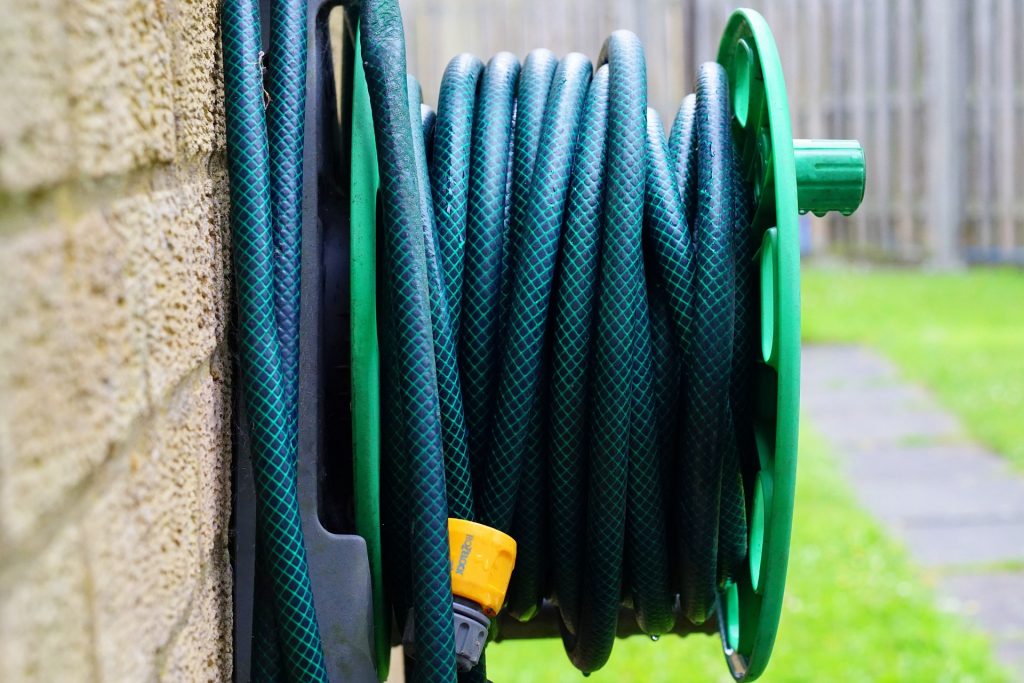
- A Hose
- Polish
- Paint Clay
- Tire Gel
- Wax Applicator Pad or Dual-Action Polisher
- Prepare for Optimum Success
Wait for a clear day and park your car in the shade. First, check to see what the temperature of your car paint is. You should avoid detailing when it is warm or hot because it can lead to rapid evaporation, leaving behind unwanted contaminants.
Grab your two buckets and fill one up with water and the other with both soap and water. Do not use detergent or dish soap to wash your car as they can damage the paint and strip away wax. The correct soap-to-water ration can be found on the label of the soap bottle.
- Begin the Washing Process
When you are ready to start, spray your car down with the hose to rid the vehicle of any large debris, dirt, dust and mud. Once you are done hosing off your car, drench your lamb’s wool mitt in the soapy mixture and start washing the first panel using straight-line strokes. When you finish that section, spray it with the hose and repeat.
Don’t forget: after each use, rinse the mitt in the water only bucket and remove all dirt. After washing the entirety of the vehicle, rinse again and use a microfiber cloth to dry it off.
- Make it shine
The process of polishing and waxing your car might sound tedious, but it will be worth it in the long run. The first step is to run your hand over the paint to see if there are any contaminants still stuck on your car. If you find some, take a piece of paint clay, flatten it out into a disc, spray both it and the area on the car with wax and stroke in straight-line motions.
Pro Tip: NEVER use a piece of clay once it has dropped on the ground. It will pick up particles and potentially damage the vehicle.
Polish always comes before wax. Its job is to remove small layers of the clear coat by buffing the compound into the paint. It will then make small scratches and streaks disappear. You can choose to apply it by hand or use a dual-action polisher. Once applied wipe it off with a microfiber towel. Unfortunately, if you find deeper scratches unscathed by the polish, you will have to repair them with paint.
- Wax on, Wax off
The next step is to protect your car from harm. Over time the UV rays from the sun can cause fading and debris such as bird droppings and sap can cause paint damage. By taking the time to wax your car you be stopping these harmful elements in their tracks.
When it comes to types of wax, you have a choice: synthetic or natural. Synthetic wax is known to last longer than other options, but it’s not as shiny as the natural alternative. Carnauba, the natural wax, provides a deep, warm sheen and does its job well. Whichever option you choose, apply it in a light, even later, two to three panels at a time and wipe it off with a microfiber towel before it dries completely. Also, adhere to any guidelines for curing to allow for maximum protection.
- Let there be sight!
It’s always important to keep your eyes on the road, but cloudy windows can make that impossible. Use a window cleaner specific for cars to wipe them down. A glass solution such as Windex might get the job done, but it will end up damaging your windows’ tint. Apply the cleaner, then wipe down twice to get rid of all residue.
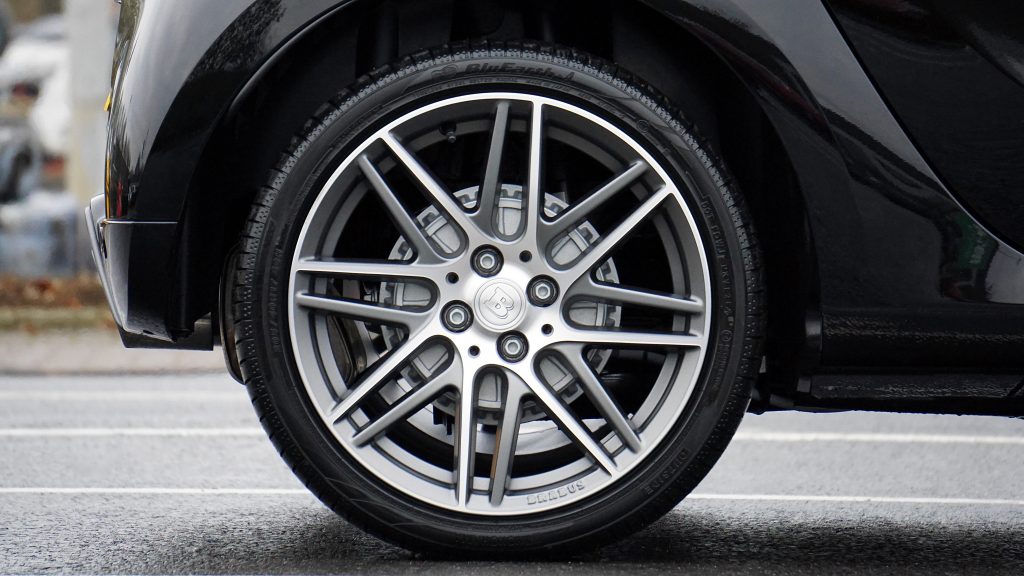
- Get ready to roll
Just like with every other area of the car, you want to use a tire solvent particularly made for wheels. There are formulas for different types of wheels, but if you’re not sure which one you should choose, pick the least powerful one available (should be an acid-free pH balanced aluminum wheel cleaner). There are different formulations that wheel cleaner comes in, but the most popular are gel. Apply it and wait three to five minutes before loosening the dirt with a brush and rinsing with water. To complete the process, wipe it down with a microfiber cloth, making sure no cleaner is left on the wheel.
That’s it! There are only seven, simple steps to detailing your car. To keep it looking brand new, here are a few other things to bear in mind:
- Keep a spray detailer and clean microfiber towel in your car kit to immediately remove any unwanted dust, dirt or droppings.
- Washing your car isn’t enough, by taking the time to detail it, you are extending its life and maintaining its value.
- You should wash your car every month or so, wax it once each season and give it a full detail once or twice a year (depending on your parking situation).
- Keep everything organized in one place and label your towels, so you know the purpose of each one for next time.
If you do not have the time to perform a DIY car detailing, or it is not realistic because of the current season, leave it to the professionals. We here at Nutley Auto Kia want to help you keep your car in tip-top shape all year round. Give us a call today to schedule your next car detailing!
Sources:
- How to Wash Your Car Like a Pro: http://bit.ly/1vCRmdz
- Give Your Car the Love it Deserves: DIY Detailing in 9 Steps: http://bit.ly/2xa8kTx
![[Facebook]](https://www.nutleykia.net/blogs/930/wp-content/plugins/bookmarkify/facebook.png)
![[Google]](https://www.nutleykia.net/blogs/930/wp-content/plugins/bookmarkify/google.png)
![[LinkedIn]](https://www.nutleykia.net/blogs/930/wp-content/plugins/bookmarkify/linkedin.png)
![[Twitter]](https://www.nutleykia.net/blogs/930/wp-content/plugins/bookmarkify/twitter.png)
![[Email]](https://www.nutleykia.net/blogs/930/wp-content/plugins/bookmarkify/email.png)
Connect with us


You May Also Like
- Tires and Wheels FAQ: What Kia Drivers Should Know About Tire Care, Wheel Maintenance, and Road Safety
- Why Regular Oil Changes Are Essential for Your Kia
- Signs Your Car Needs a Check-Up: What to Look For and When to Visit a Qualified Technician
- Discover the Thrills of the 2025 Kia K4: Performance, Comfort, and Innovation
- Celebrating National Disability Employment Awareness Month: Nutley Kia and The Phoenix Center’s Commitment to Workplace Inclusion
Browse By Category
 Warranties include 10-year/100,000-mile powertrain and 5-year/60,000-mile basic. All warranties and roadside assistance are limited. See retailer for warranty details.